AUTORUST® WARRIOR CORROSION CONTROL MODULE
INSTALLATION GUIDE
FOR PROPER AND EASY INSTALLATION YOU WILL NEED:
a) a wire stripper and crimper
b) an adjustable wrench
STEP I: PREPARATION
Open up the engine compartment and unwrap the AutoRust® Warrior Corrosion Control Module from its packaging.
STEP II: LOCATION
Find a location where you will be mounting the AutoRust® module. Try to stay away from heated and moving components, away from areas that are subject to excessive moisture and road debris. Ideally find an area where the LED indicator is clearly visible.
STEP III: CONNECTING MAIN (GREY) WIRE
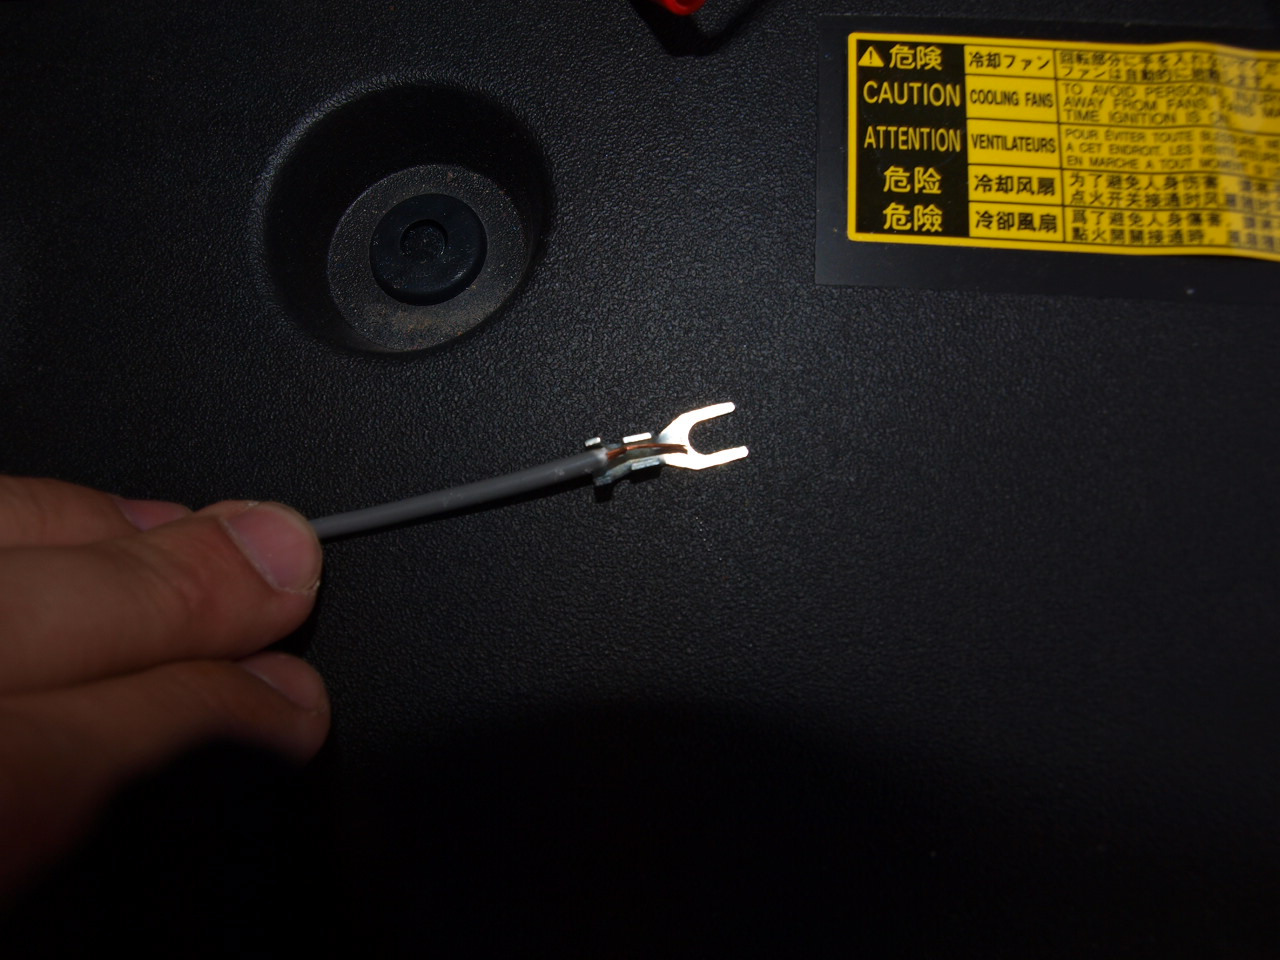
Take the GREY wire and strip isolating plastic from the wire ending using the wire stripper.
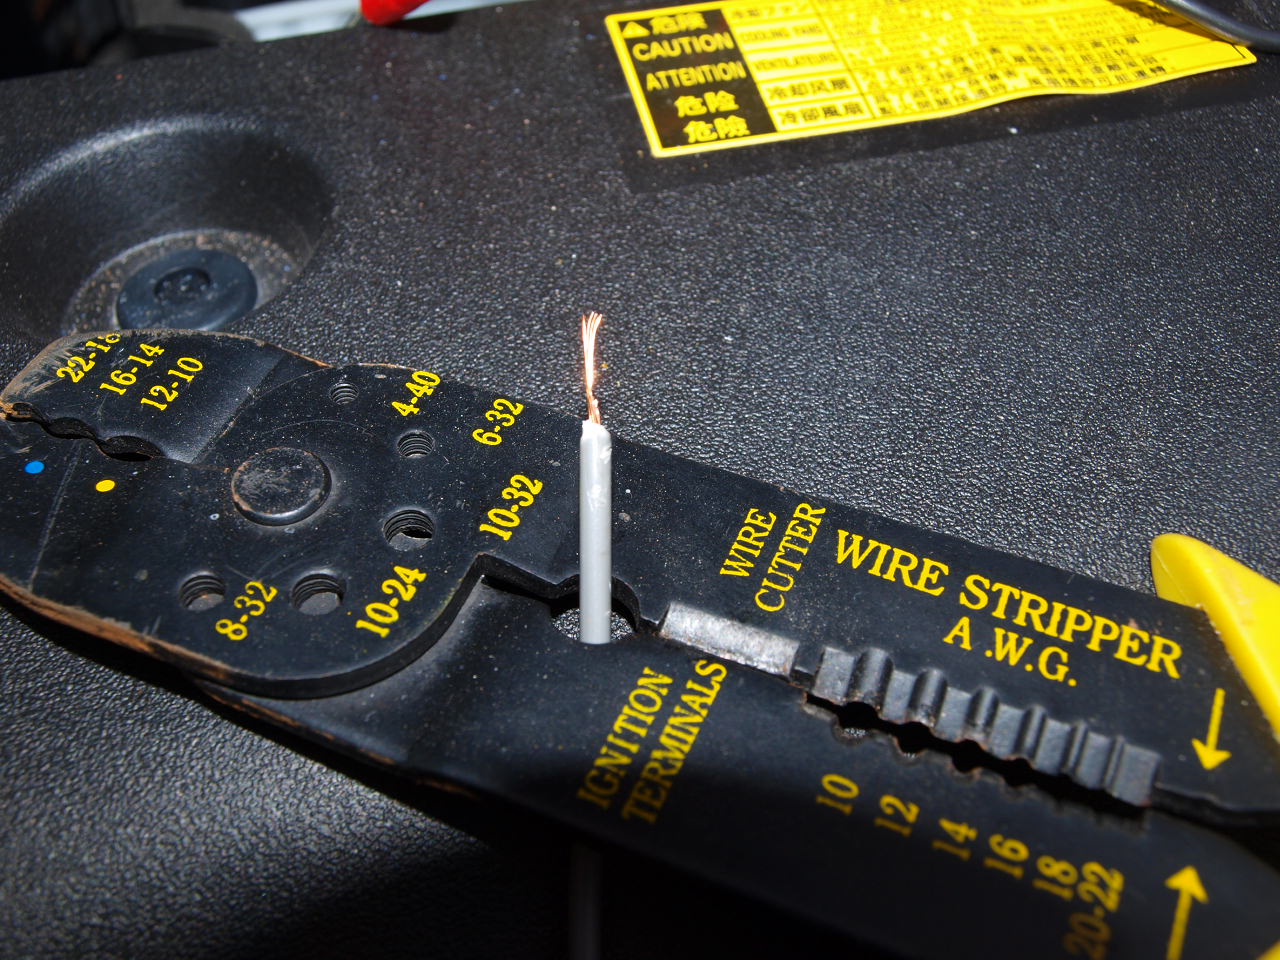
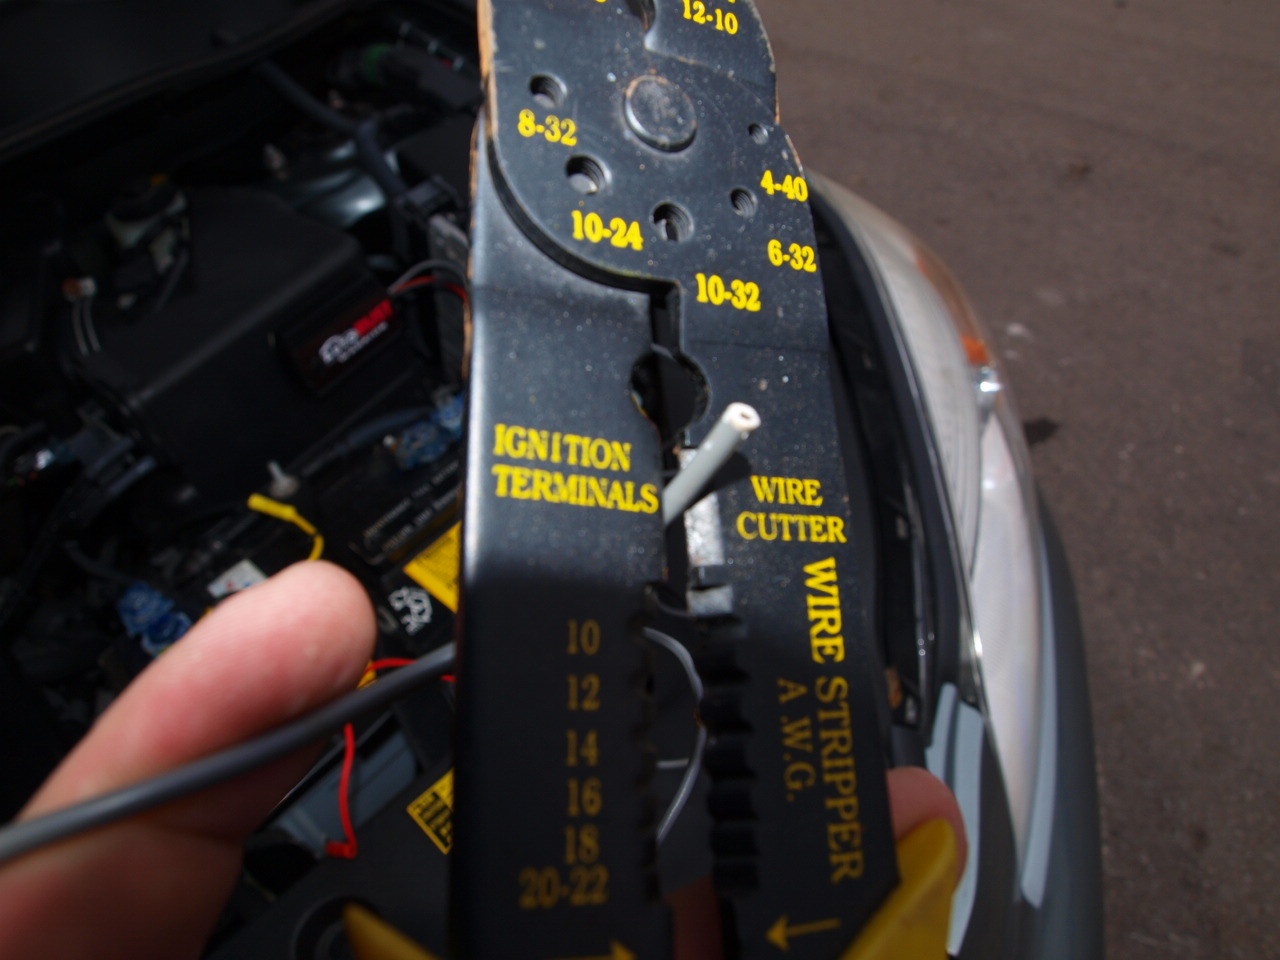
Using a crimper tighten a clip of your choice around the exposed wire.
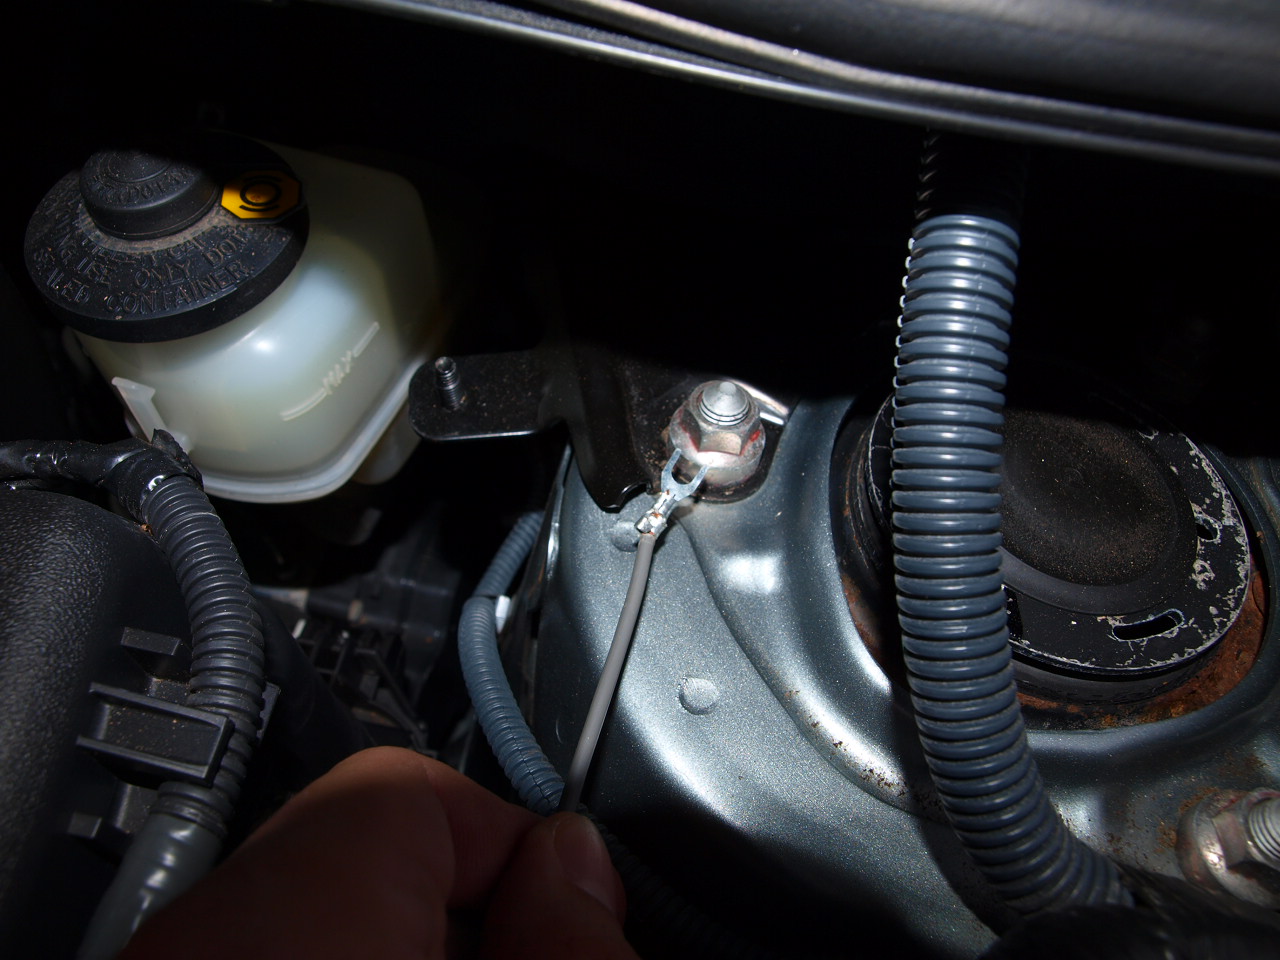
Connect (ground) the GREY wire to the structure of the vehicle. Good contact with bare metal is important to insure that the AutoRust® module functions properly (in our case we used strut tower bolts for grounding).
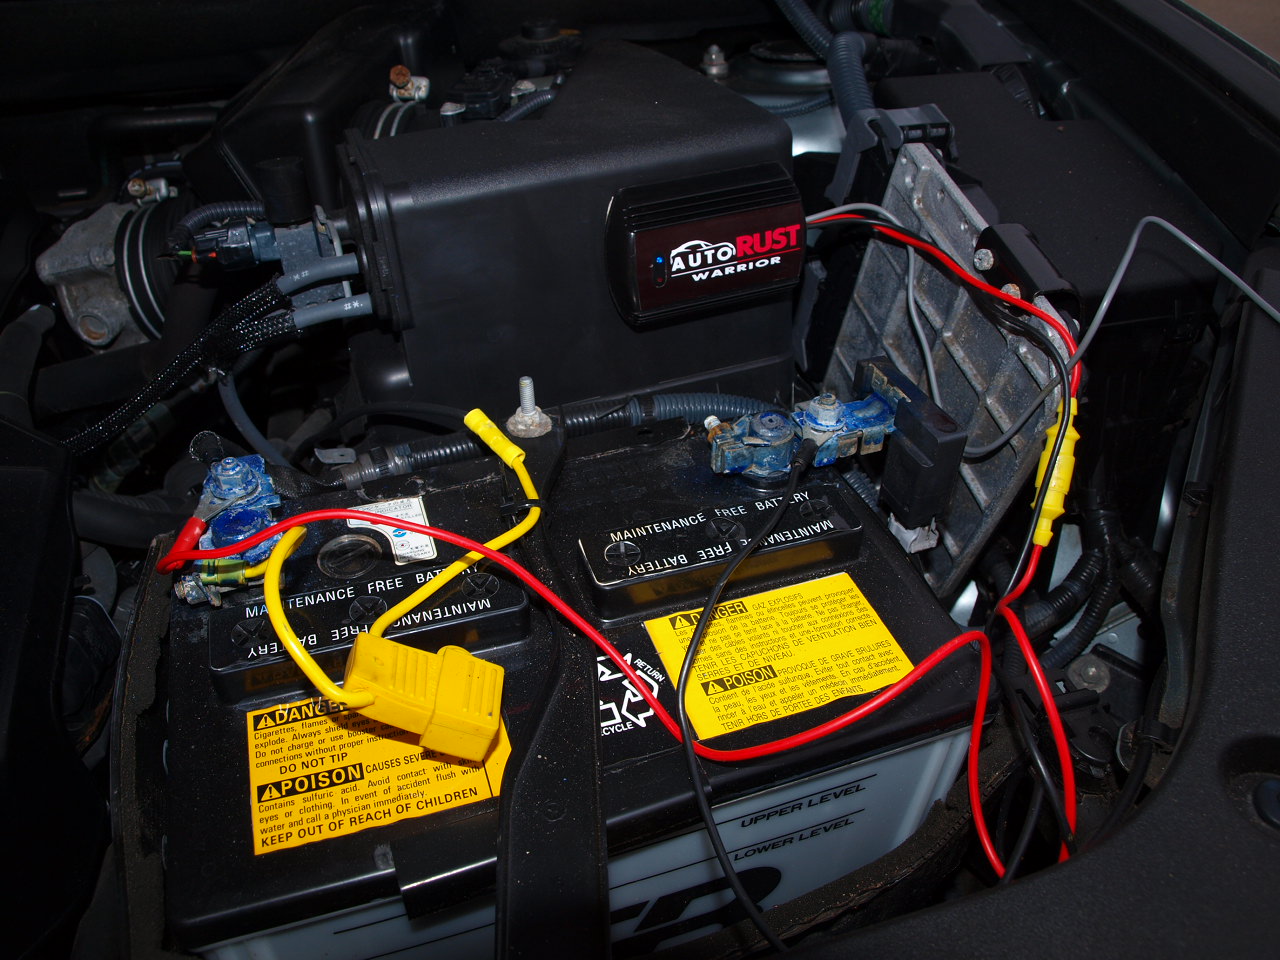
STEP IV: CONNECTING THE BATTERY WIRES
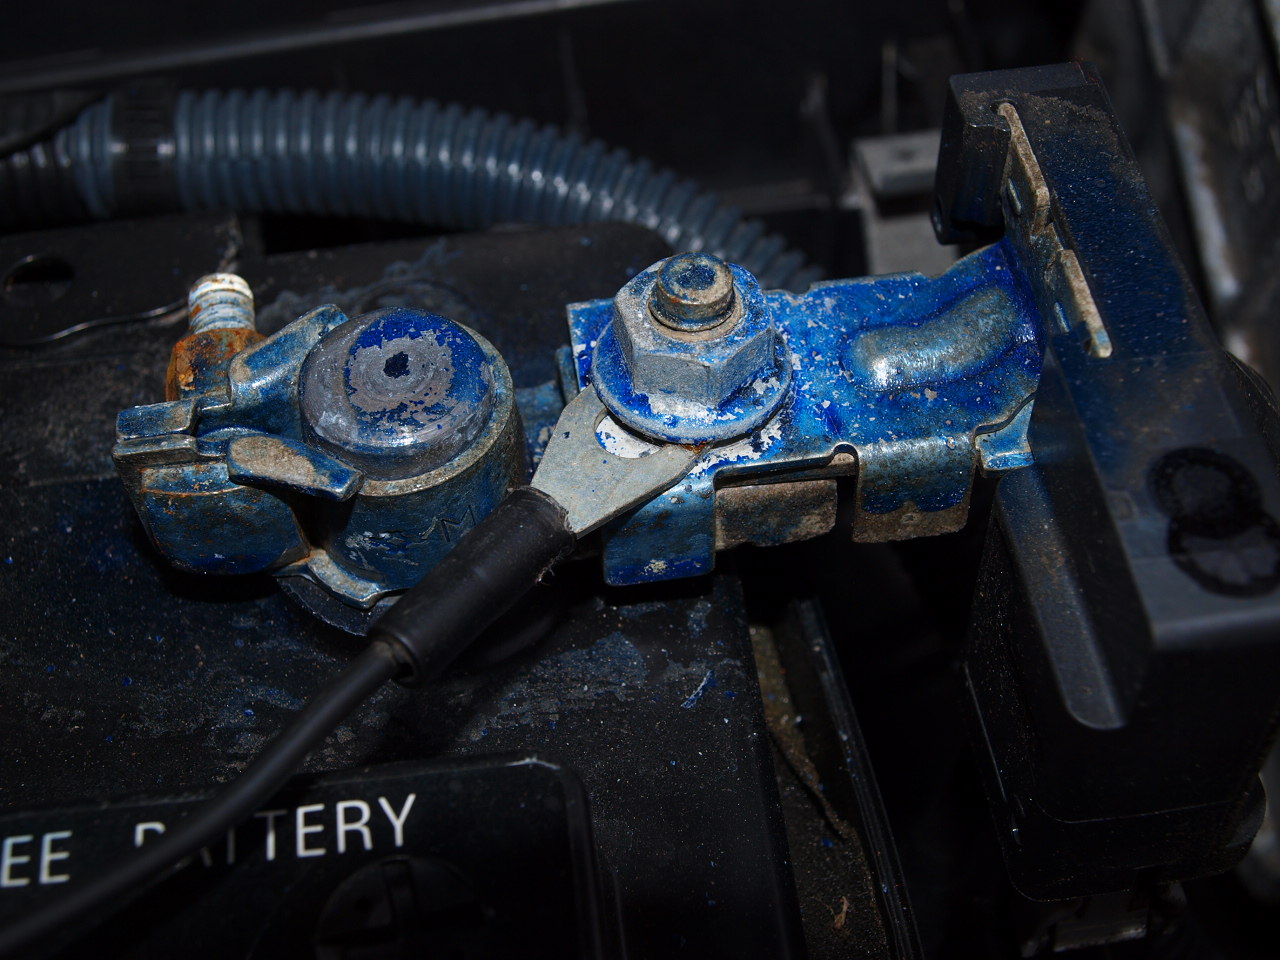
Untighten the nut on the NEGATIVE battery terminal and insert the terminal of the BLACK ground wire first. Tighten it down securely back again.
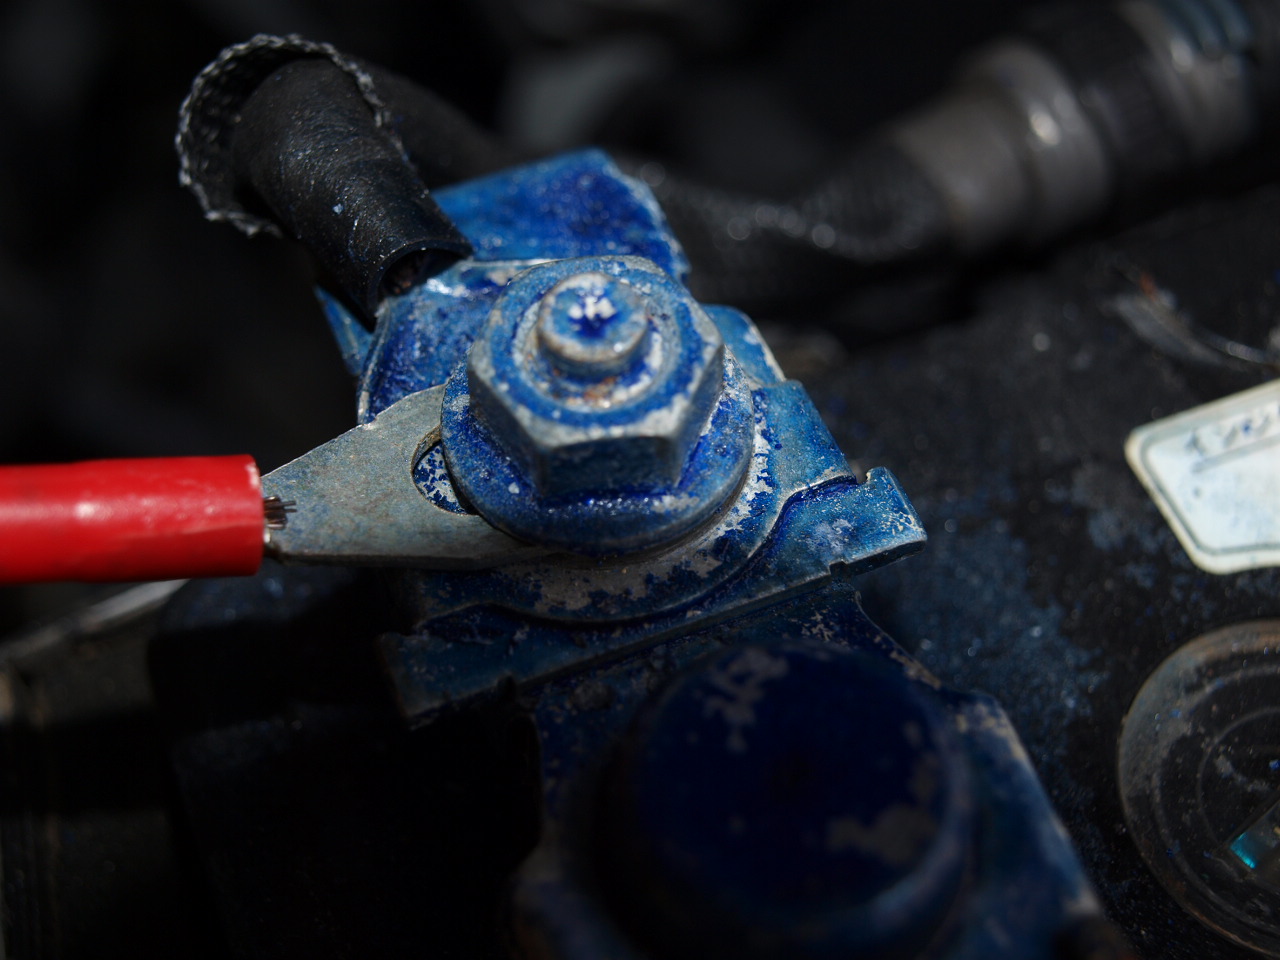
Untighten the nut on the POSITIVE battery terminal and insert the terminal of the RED wire second. Tighten it down securely back again.
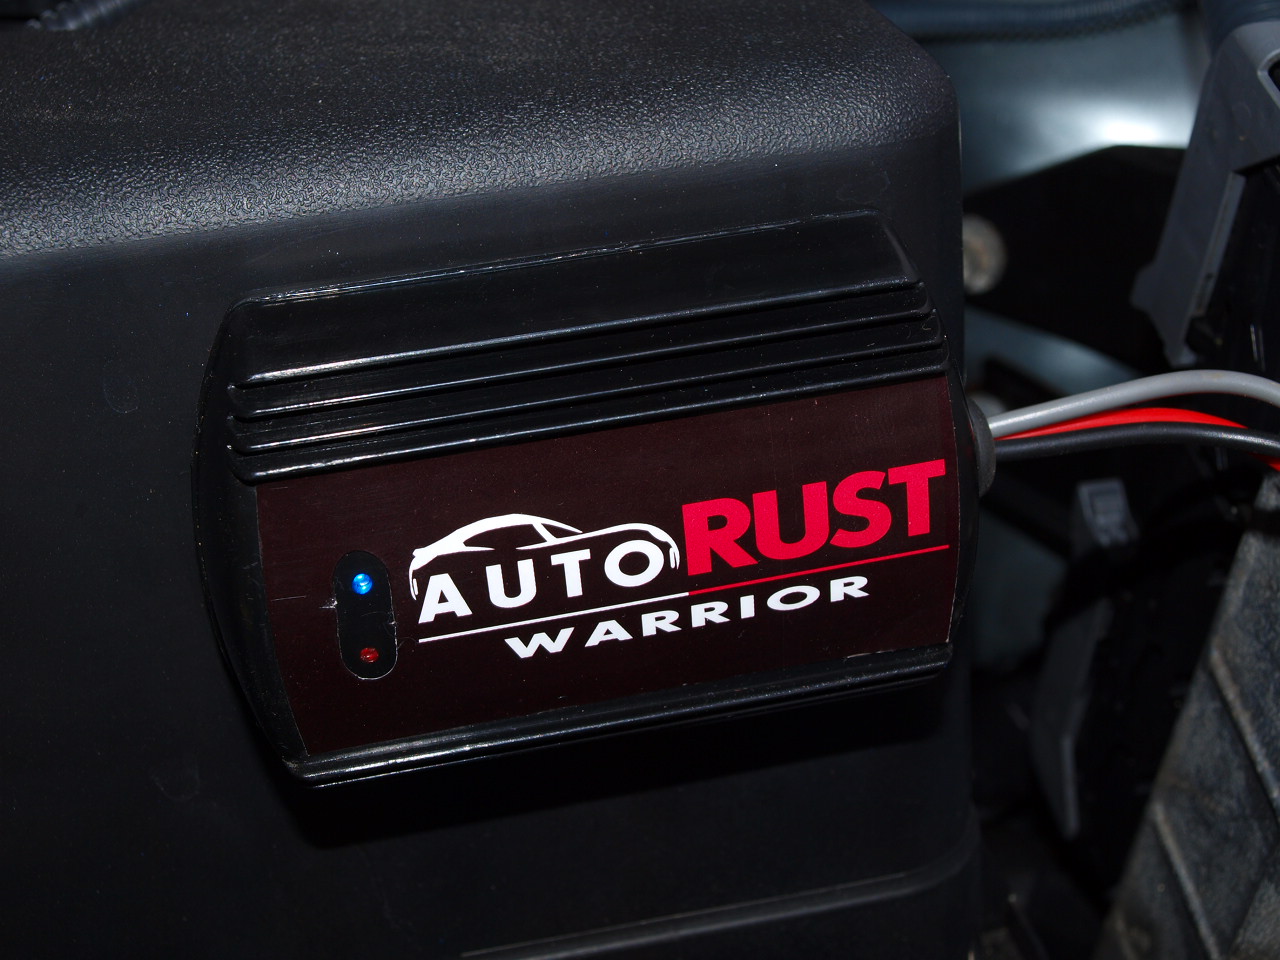
If you have connected all the wires properly, the BLUE LED light will start flashing on the module showing electrodes are flowing & RED LED will stay solid meaning it is connected to power source.
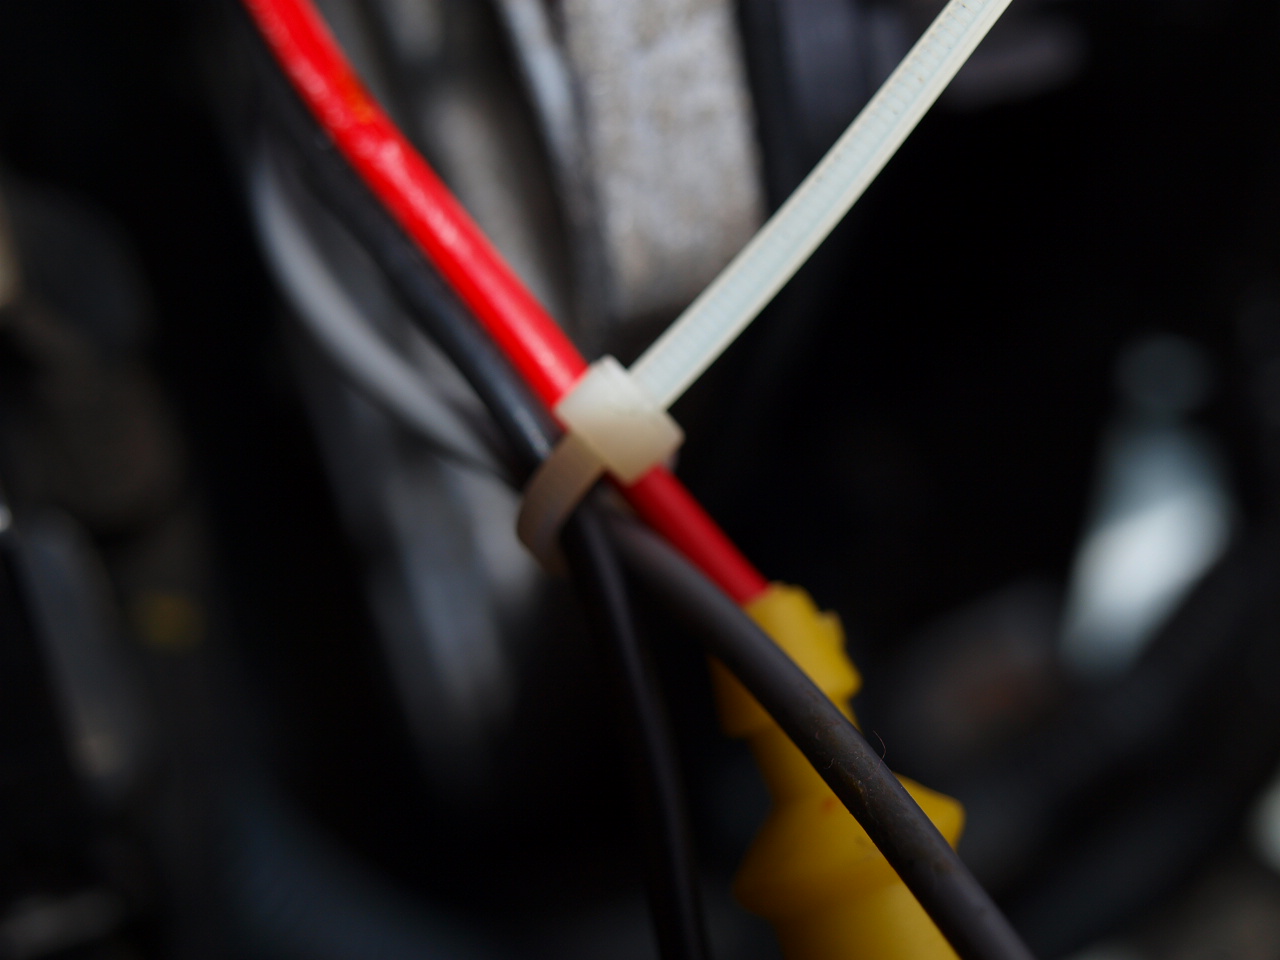
STEP V: ATTACHING LOOSE WIRES
Loose wires could be tied up to the vehicle using the zip ties included with the package.
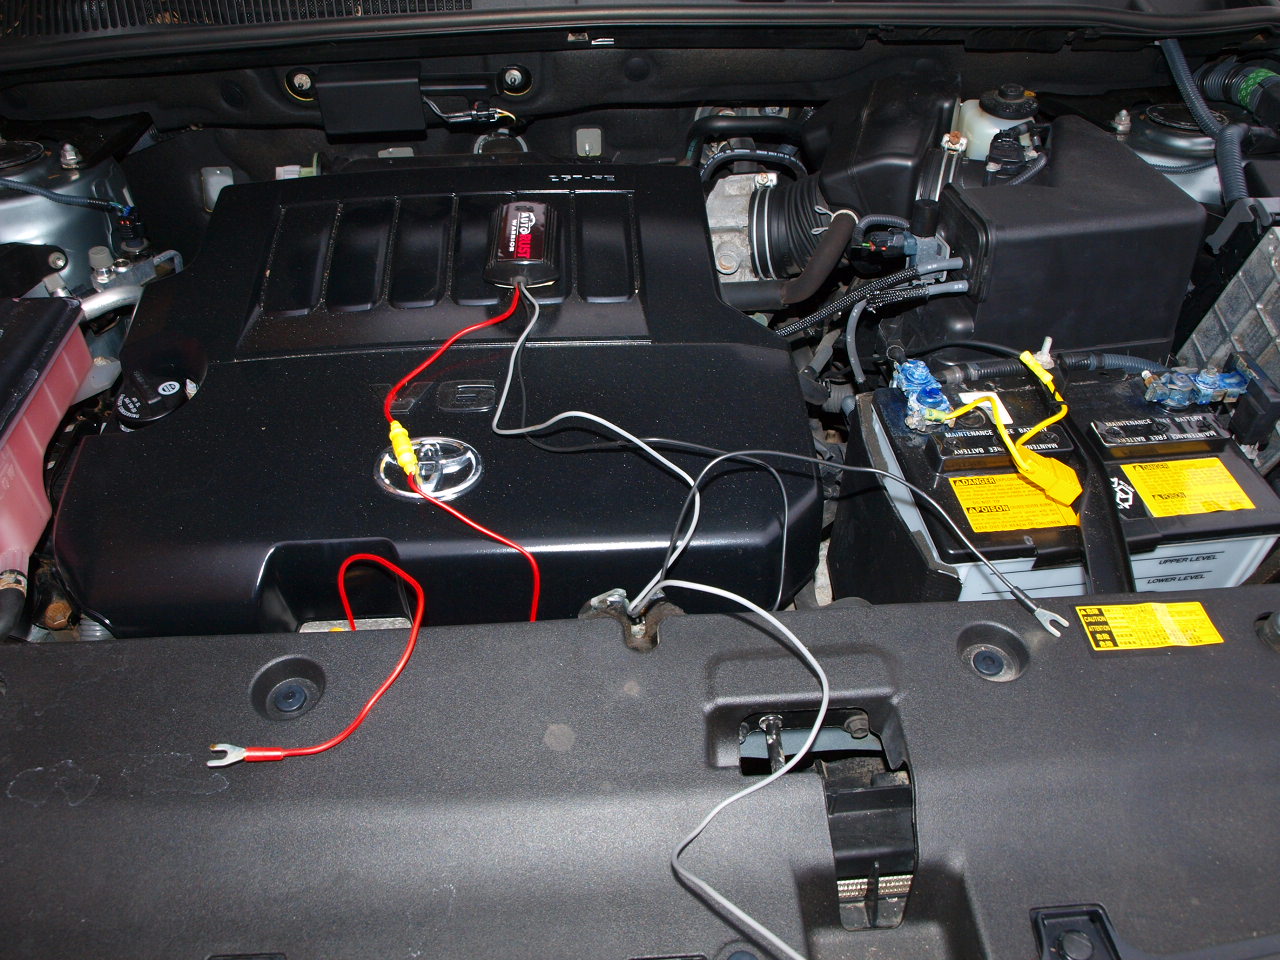
STEP VI: INSTALLATION HAS BEEN COMPLETED
This is how your module should look like after the installation has been completed.

INSTALLATION HAS BEEN COMPLETED.